
Good morning!
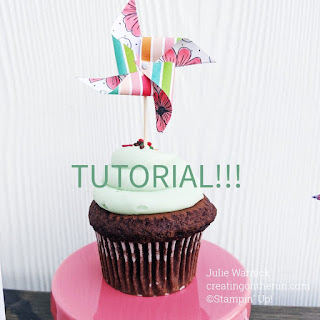
If you didn't catch my last post, go check it out! It was the Monday Montage Blog Hop's 200th hop!! And we are celebrating! One of my projects is a tiny little pinwheel cupcake topper. Today I'm going to do a quick tutorial so you can make your own!
These darling little pinwheels are so easy, but can add so much to your party decor!
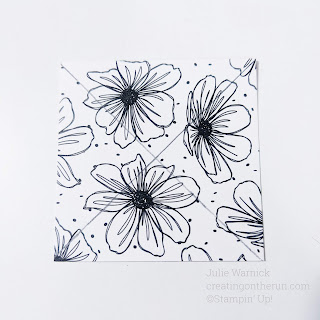
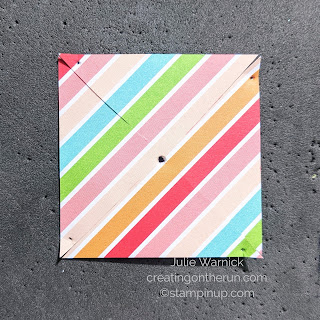
1. Pick a Designer Series Paper that matches your party theme and cut as many 2 inch squares as you need. Each 2 inch square will make one pinwheel. I used paper from the Pattern Party Designer Series Paper. This paper is free with Stampin' Rewards!
2. Using a pencil and ruler, draw two diagonal lines from corner to corner as shown.
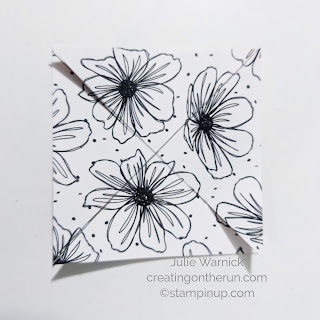
3. Using Paper Snips, cut from the corner on each diagonal line towards the center. Stop cutting a little more than 1/4 inch from the center point of the paper as shown.
3. At this point I colored in the flowers on the black and white side of the DSP to match the stripes on the front (optional).
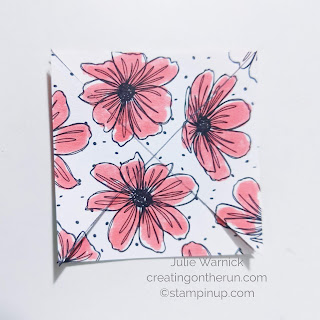
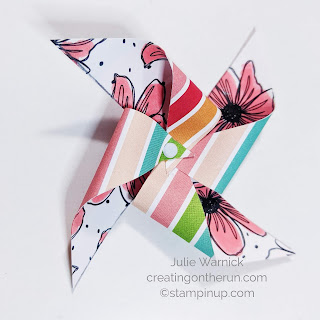
Using Mini Glue Dots or hot glue, adhere a toothpick to the back of the pinwheel and insert in a cupcake!

I hope you enjoy making pinwheels! You can adapt these instructions to make pinwheels in any size!
Thank you for stopping by!

No comments:
Post a Comment